


** BONUS SKETCH **

Happy Monday, Bleeps! How was your weekend? I got the chance to photograph a family yesterday and it was FREEZING! I even managed to get Mac to take a few shots of me! I may share those with you later this week! But, what I really wanted to share with you today were these cards for this week's 2 Sketches 4 You layouts! I say layoutS because there is a bonus sketch this week by me! It is my very FIRST sketch, so take on the challenge and make two cards this week and link them up here! GCD Studios is the sponsor this week and you don't want to miss out on their fantastic products!
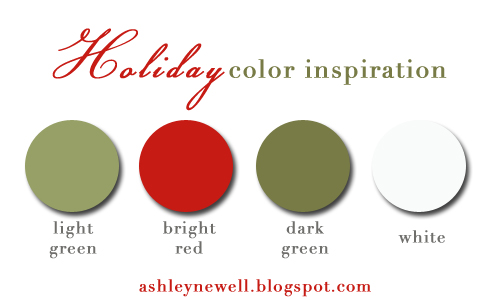
If you're looking for some holiday color inspiration, I didn't forget! Scroll down for the "traditional" color swatches I used in the above cards for 2 Sketches 4 You!
Thanks for visiting and have a great Monday!
Noel
Instructions
- Trim white cardstock to create a 5" square card base.
- Trim green patterned paper and adhere to card front.
- Trim green strip and adhere on top of patterned paper.
- Trim die cut and stamp sentiment and flourish design (heat emboss and add rhinestones).
- Add die cut to card front.
- Die cut scallop circle and dry emboss polka dot patterned.
- Adhere scallop circle to card front with foam adhesive.
- Trim Christmas tree from patterned paper and pop off scallop circle and add rhinestone.
Supplies
Stamps :: Papertrey Ink - silent night; Christmas saying
Ink :: Versamark
Paper :: GCD Studios - Christmas Sleigh collection; Papertrey Ink - white
Embellishments :: KaiserCraft - rhinestones
Tools :: Spellbinders - scallop circle nestabilities; Provo Craft - swiss dots embossing folder; die cut machine; American Crafts - green embossing powder
Merry Christmas
Instructions
- Trim red cardstock to create an A2 card base.
- Corner round the bottom right edge.
- Trim patterned paper, corner round bottom right edge and adhere to card front.
- Trim green strip, adhere to card front.
- Add zig zag stitching.
- Tie ribbon around card front.
- Add sticker letters.
- Stamp "Christmas" then pop off card front.
- Add buttons.
Supplies
Stamps :: Papertrey Ink - silent night
Ink :: Papertrey Ink - pure poppy
Paper :: GCD Studios - Christmas Sleigh collection; Papertrey Ink - pure poppy, white
Embellishments :: Michaels - ribbon; GCD Studios - buttons, alphabet glitter stickers; Papertrey Ink - twine; thread
Tools :: sewing machine, corner rounder

14 comments:
Oh my goodness, gorgeous cards! I had so many compliments on my card using the blue and gray combo!
Wow, these are gorgeous cards! I love the design and what you did with the buttons and bow on the second card and those colours really stand out!
both your cards are so clean and classy! lovin' that sketch!
Such great cards! I love your sketch as well! I need to try that one out this week!
Love the elegance of your cards Ash! I can't wait to try your fab sketch this week! way to work that PP! :-)
Fantastic! Love your sketch and cards! So fun! :) Kathy
I love your cards!!
i love your cards ! they are so nice !
Your cards are awesome. That is a great sketch too. I'm also liking your new pictures. TFS.
Janet
These are gorgeous! And I love your color palette!
Awesome work on the sketch. I love that card!
I love these bright colors and the look of your cards. so beautiful :)
fabulous cards!
Wow, girl, cards, sketch, colors, you're just on a roll! Love all of them!
Post a Comment