header.gif (12,818 bytes)
Showing posts with label scrapbook album. Show all posts

10.16.2010

Gotta Love the Everyday :: Aniyah + Jordyn

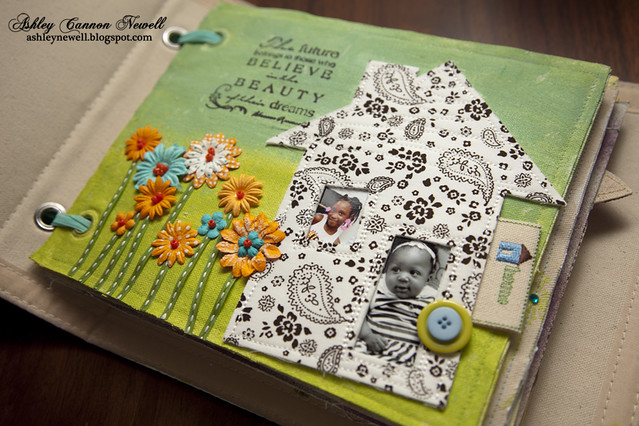
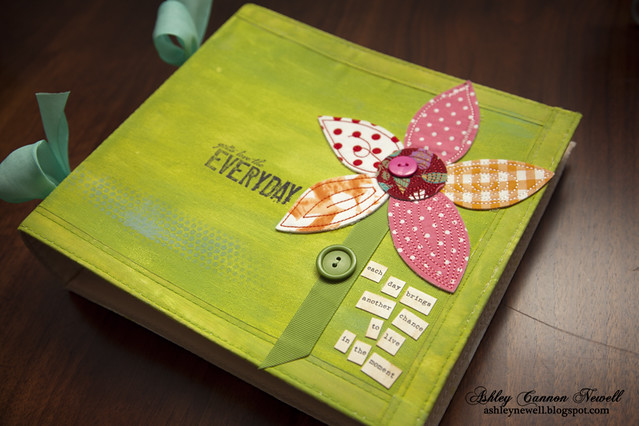
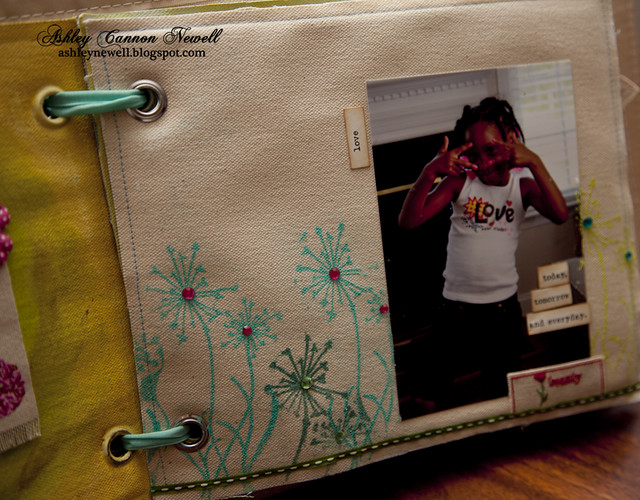
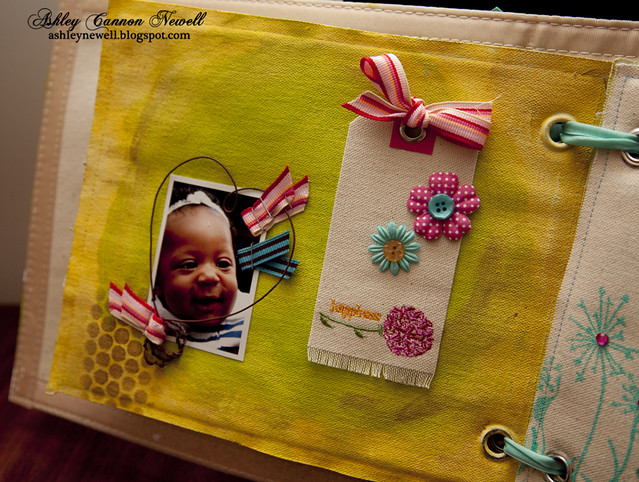
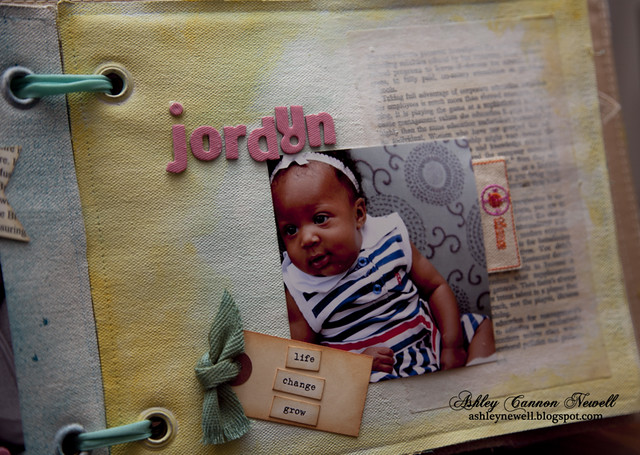
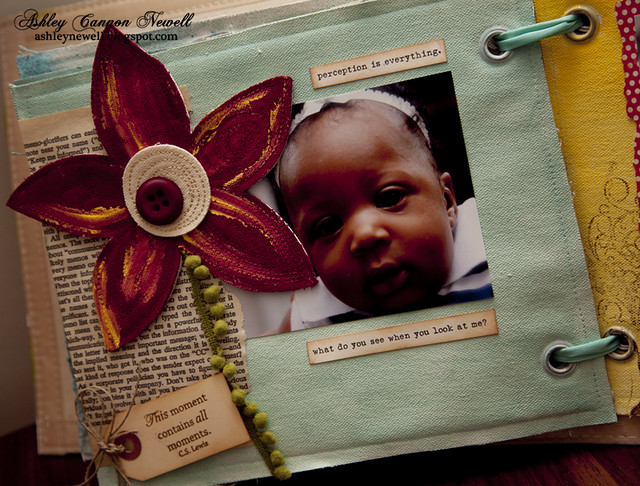
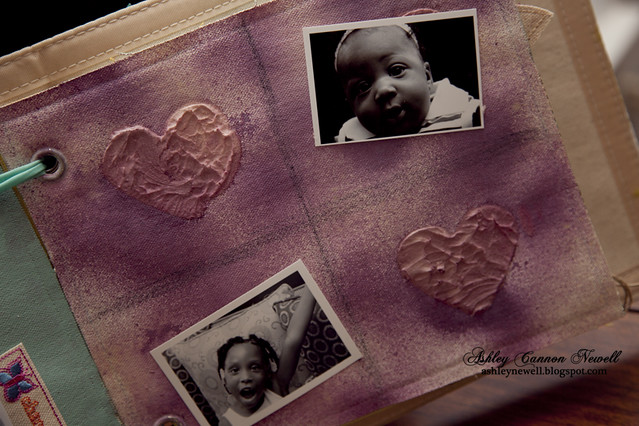
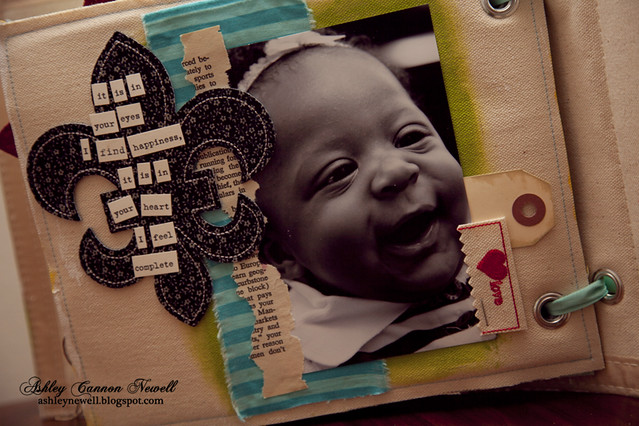
Happy Saturday, Bleeps! I have something to share that I've been working on for over a year! I know that's really a shame, but I'm proud that it's finally complete! Every holiday for the past year, I've been wanting to finish this project for my dear friend, Riscee. Yesterday, was her birthday and I finished! She'll get it a few days late, but I'm so relieved it's done. Although the photos I took are over a year old and her youngest is now walking, these photos will still be cherished memories. I only had a couple things to add and finally was satisfied and bound it all up with some linen ribbon.

Scrapbooking can be fun, but it's difficult to work on deadlines and scrapbook for others. It's very hard for me to sit down and complete one, even for myself. With design deadlines and other personal projects that I am working on (that one day you all will see), scrapbooking takes a back seat. I still create everyday, but that's more like the chicken noodle soup for my soul!

So, without further ado, here's my canvas album started over a year ago in Donna Downey's class!






Thanks for stopping by! Enjoy the rest of your weekend.

3.04.2009

Sisters :: Mini Coaster Scrapbook

{metal letters say "sisters" - sorry bad photograph}


This is a fast and easy mini scrapbook anyone can do in about 2.5 hours. I started and finished this project last night. The only thing I did today was add the button tree to the front cover. It is really simple and a perfect way to showcase a few photos to capture the perfect moments. The template I received from Nichole Heady and can be found here. She suggested many ways you can use each side of the coaster book. You can also extend the accordion fold-out by adding additional cardstock to display more photos. It is a perfect size to carry along in purses or bags to share quick photos in a creative display.

To complete this project, I used my Scor-Pal and Scor-Tape to make folds and secure the project in place. I'm not going to post instructions here because you Nichole has graciously posted them for you. But, here are some highlights and tips:
  • White craft ink used on front cover to create distressing on the tree/cover page.
  • Adhered buttons and metal letters using Alene's tacky glue (a must-have).
  • Used $1 Michaels alphabet stamps to create words on pages.
  • Added black and white and color photos to the book.
  • The fold-out on the left side, folds out left and the fold-out on the right side, folds out right (just something extra to consider).
  • If adding a cardstock to the bind, adhere it while the book is open, to make sure it does not buckle when you open it.
  • I think Nichole's directions say you need (2) 12x12 pattern papers and (2) 12x12 cardstocks, but I only used (1) of each. Did I do something wrong?! :)

My book theme is "Sisters," featuring my sister and I. The book highlights a photo shoot we did in January, photographed by Mac. I think I'm going to give the book to my mom (if she wants it)!

Have a warm Wednesday! Thanks for stopping by and leaving comments...they work!

:: My Goodies {sisters}::
Stamps: Papertrey Ink-out of the box; damask designs; rustic branches; Stampin' Up!-always; Technique Tuesday-main street numbers; Michaels-alphabet stamps
Ink: Stampin' Up!-chocolate chip; white
Cardstocks: Papertrey Ink-raspberry fizz + white + summer sunrise + darck chocolate; Close to My Heart-pink; Craft Supply-chipboard
Pattern Paper: American Crafts-Metropolitan
Accessories: dimensionals; Making Memories-metal letters + clips; Maya Road-branch chipboard; Craft Supply-buttons; Close to My Heart-twine; Polar Brear Press-brown chipboard letters; KaiserCraft-rhinestones; Paper Source-brown satin ribbon; Papertrey Ink-summer sunrise ribbon; JoAnn Crafts-metal letter clip; scor-pal; scor-tape; alene's tacky glue
Card Size: 4.75" x 4" (closed)

2.28.2009

Jayden :: Bitty Baby Blessing


Good morning! Here are the layouts for the baby scrapbook I completed this week. It is very basic and simple so the new mom and can add pictures with ease. The book is an 8 x 8 from Archiver's. Most of the cardstock is by Papertrey Ink and some is by Stampin' Up! (kiwi kiss and baja breeze). I stamped most images and cut them out, but a few are also from the New Arrival Cricut cartridge.

Have a happy weekend!

1.20.2009

Welcome Jaison David


Today, I am celebrating the birth of a new baby and the birth of a new President!

My childhood best friend's sister (also my friend) had a baby boy last month. I'm just now finishing up the final touches of the baby book. Instead of the constricting scrapbook layouts, I designed a smaller book that can easily be toted around with open space for the mom to place whatever on the pages. I waited for Jaison to be born so I could customize it with his name for a special, personal touch.

I'm not going to post instructions because it would take forever, so I'll just describe what I did. The album is a Bo Bunny 6x6 bare naked binder with half canvas fabric and half chipboard. On the chipboard side, I covered it with a soft, striped, cotton fabric. I divided the two fabrics with brown grosgrain ribbon. On the inside of the covers, I painted the chipboard section with blue acrylic paint.

The are nine chipboard pages on the inside (times two for front and back, making a total of 18 pages) that are covered with Basic Grey paper and canvas. Some pages are lightly embellished with stamped dimensionals, buttons, tags, and ribbon. I distressed the pages and added loop trim on some of the edges.

So, how do you like it? It is different from a traditional scrapbook that I normally give new mothers, but I like it much better because it isn't as restrictive with what pictures match each page, such as 'baby's first bath'.

:: My Goodies {Jaison David baby book}::
Stamps: Papertrey Ink-bitty baby blessings; mixed messages; borders and corners-rectangles; Clearly Wordsworth-baby
Ink: Stampin' Up!-chocolate chip; ColorBox-chestnut roan
Cardstocks: Papertrey Ink-dark chocolate, vintage cream
Pattern Paper: Basic Grey-two scoops/non-fat yogurt, figgy pudding-glacier
Fabric: Ava Rose by Tanya Whelan Aqua Ticking Stripe; Canvas
Accessories: Bo Bunny-6x6 bare naked binder + refills; dimensionals; Stampin' Up!-chocolate chip grosgrain ribbon; American Crafts-brown foam thickers; twine; tags; Making Memories-alphabet square charms 'antique copper', charmed 'baby', sea foam acrylic paint, sea foam loop trim, binder clip; Chatterbox-brads; Papertrey Ink-Aqua mist ribbon; corner rounder; We R Memory Keepers-family eyelet; Fancy Pants Designs-heart pin
Card Size: 4.25 x 5.5

11.24.2008

Fabric Hybrid Album


In October, I took a class at Scrapdoodles with Donna Downey. I created this fabric hybrid album. Isn't it amazing! The reason I signed up for the class is because I wanted to expand my creativity to bring fabric into my designs. I also was attracted to this album because it uses the colors of my bedroom (black/white with blue)! It looks harder than it is, but it's simply adhering fabric and paper to chipboard, then decorating the pages. The book has fabrics by Anna Griffin, plus some canvas, and other hard-to-find items. Amy Butler makes some beautiful fabrics that would be great for scrapbooks. Also, you can check out your local fabric store and sometimes ther are some bulk upolstery fabrics that work great and are discounted! I'm going to do a baby book with some. I'll show you next month how that turns out.

I made this book about Mac and I, mostly with photos taken this year (only two are older photos). I printed them out to wallet-sized black and white photos at Ritz Camera (I think they have great quality). I just finished it last night, by including the journaling words and phrases. The book was finished last month except for that part. I just received a new Papertrey Ink order with Heartfelt Basics stamp set and it was perfect for jornaling sentiments and phrases, forcing me to finally finish {whew}. So, I just stamped them on vanilla cardstock and inked.

I wasn't feeling that crafty last night, since I spent most of the time organizing the studio. I didn't get as far as I'd liked, but I made substantial progress. I have to go back to IKEA for supplies for my nestabilities storage concept. I'll be sure to share that once it is installed. I think it's the greatest and sleekest storage solution out there! I also have to organize my ribbons and plan to do that during Thanksgiving, well between meals! So, I'll probably will be able to share the updated 'clean' studio next week, if not by the weekend!
Blog Design: Girly by Design