|
|
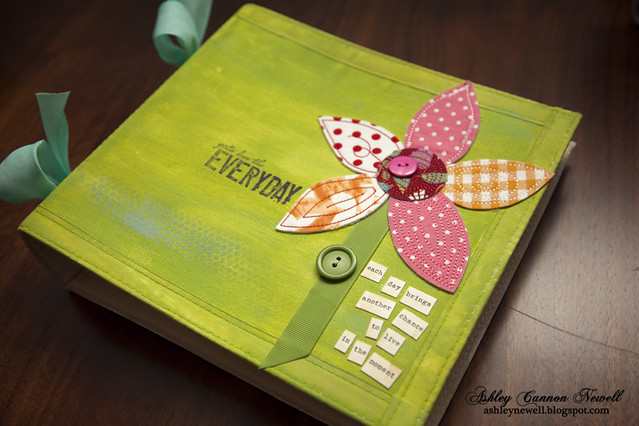
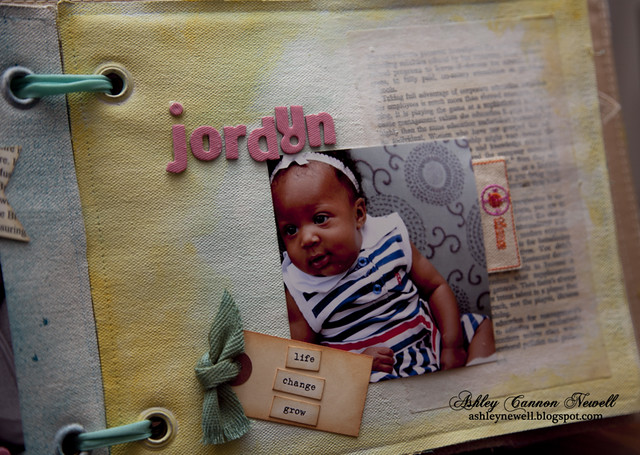
Happy Saturday, Bleeps! I have something to share that I've been working on for over a year! I know that's really a shame, but I'm proud that it's finally complete! Every holiday for the past year, I've been wanting to finish this project for my dear friend, Riscee. Yesterday, was her birthday and I finished! She'll get it a few days late, but I'm so relieved it's done. Although the photos I took are over a year old and her youngest is now walking, these photos will still be cherished memories. I only had a couple things to add and finally was satisfied and bound it all up with some linen ribbon. Scrapbooking can be fun, but it's difficult to work on deadlines and scrapbook for others. It's very hard for me to sit down and complete one, even for myself. With design deadlines and other personal projects that I am working on (that one day you all will see), scrapbooking takes a back seat. I still create everyday, but that's more like the chicken noodle soup for my soul! So, without further ado, here's my canvas album started over a year ago in Donna Downey's class!            Thanks for stopping by! Enjoy the rest of your weekend.
 For the new year, I decided to go for a new look. {See the new photo?} My hair is a lot darker and shorter! It's much easier to manage and is fun! I change my hairstyles often, keeping myself {like my crafts} bold and new! The hairstyle is a week old, but I just got the chance to get this photo taken by my DH, Mac. He's a great photographer! This project was inspired by Loonie Stamper's Challenge, who challenged everyone to do an altered pink project. I altered a canvas using fabric, ribbon, metal, and a picture. Using fabric instead of paper adds so much texture, especially for home decor altered items. This project does not take a long time and you can create it too: - Cut a piece of fabric to cover the front, sides, and part of the back of the canvas.
- Apply gel medium to front of canvas, then adhere fabric.
- Apply gel medium to one side of the canvas and adhere fabric.
- To close the end, fold the end (as if you were wrapping a present) and adhere.
- Continue adhering fabric to the remaining sides.
- Tie ribbon around canvas into a bow. (TIP: Only cut ribbon to wrap around the canvas, then cut another piece to tie a bow on the front to conserve ribbon)
- Adhere metal sentiment to fabric.
- Clip embellished paper clip to photograph and adhere to fabric.
- Cut prongs of brads down, then adhere to fabric.
- Adhere rhinestones to fabric.
Here are some tips when working with fabric: - Adhere using Golden Gel Medium
- When adhering anything to fabric, use Alene's Tacky Glue (which I use almost all the time to make everything stay in place)
- Any questions? Just ask because I've worked with fabric a whopping 3 times now!
:: My Goodies {love fabric canvas}::
Fabric: Anna Griffin-Dorothy Damask (pink)
Accessories: Golden gel medium; Making Memories-charmed quotes 'time', clips, paperie mocha brads; Papertrey Ink-raspberry fizz satin ribbon; Hero Arts-rhinestones; photograph
Canvas Size: 6 x 6
  {pictured on the wall} I know this looks like a lot of work, but it really is a super-quick project! I decided to create this memorabilia in honor of my father who passed away last Christmas. He was a veteran, so in honor of Veteran's Day and him, I designed this canvas wall hanging. I think I am going to hang it in my office (I haven't decided yet). This is a picture of him as a young man in Thailand. It was the early seventies when dashikis were a fashionable trend. You can barely see it in this photo, but check out that neckline! Then, look at the style of photo. It is a silhouette or shadow or whatever they called those photos 'back in the day.' Well, it wasn't that long ago, because I even have a baby photo like this! I really liked the sentiments in PTI's Remember set, so I decided to highlight them the best way I could! I did not use as many of the flowers since it focused on a picture of my dad, but I still managed to squeeze one in without making it look feminine (at least I think so). So...what do you think? To create this wall decor: - Ink (chalk or spong dabbing works) or paint canvas.
- Trim brown, aqua mist cardstock and pattern paper 9" in length.
- Trim brown cardstock about 4" wide.
- Trim pattern paper about 3" wide.
- Trim aqua mist cardstock about 2" wide.
- Lightly ink pattern paper (vintage-look).
- Stitch around edges of cardstock and pattern paper with white and brown thread, respectively.
- Scallop edge punch aqua mist cardstock, then lightly ink to distress.
- Adhere pattern paper on top of brown cardstock, then adhere scalloped edge aqua mist cardstock to one end.
- Using scor-pal, score where folds will need to be to wrap around canvas - to make a crisp wrap.
- Stamp sentiment on bottom right side of pattern paper - near the score line.
- Adhere paper around canvas (I used tacky glue-Tombo Mono Multi).
- Using nestabilities, create a frame with vanilla and aqua mist cardstocks.
- Lightly distress both cardstocks.
- On aqua mist frame, stamp PTI-Garden of Life flower on it (stamp-off technique).
- Adhere photo behind frame.
- Distress two small pieces of aqua mist ribbon, then adhere them to the upper right side of the frame to create loops.
- Pop frame off of canvas on upper right side.
- Distress a white tag, then stamp sentiment on it and adhere to pattern paper portion of canvas.
- On a small strip of aqua mist cardstock, stamp another sentiment and distress it.
- Stamp curly designs and one flower on vanilla cardstock, cut out, then distress.
- Adhere sentiment slightly over picture and the remainder pop off of canvas.
- Place curly designs underneath sentiment strip and off of the canvas.
- Sew brown button on flower cut-out using ink-distressed twine.
- Adhere the flower image at the end of the sentiment strip.
- Adhere ribbon to the back of canvas to hang (optional).
:: My Goodies ::
Stamps: PTI-Remember; Garden of Life (the blue frame design)
Ink: Brown; Amaretto
Cardstock: Dark Chocolate; Aqua Mist; Vanilla
Pattern Paper: PTI-Everyday Blessings
Accessories: brown button; twine; thread; sewing machine; scallop edge punch; dimensionals; tag; square nestabilities; cuttlebug; aqua mist grosgrain ribbon; dark chocolate polka dot ribbon; scor-pal; canvas concepts-scrapbook decor canvas; paper distresser
Technique: Stamped
Card Size: 6 x 6
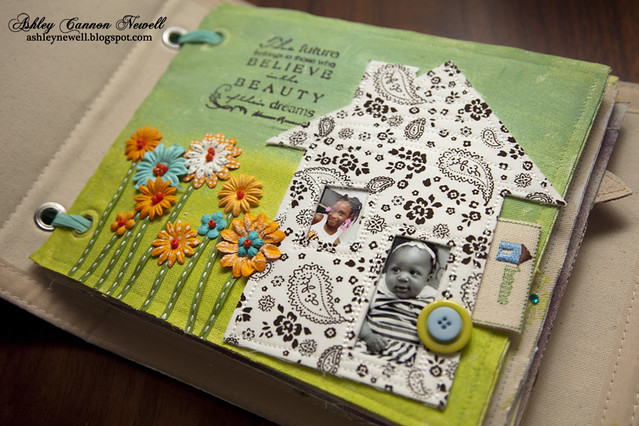
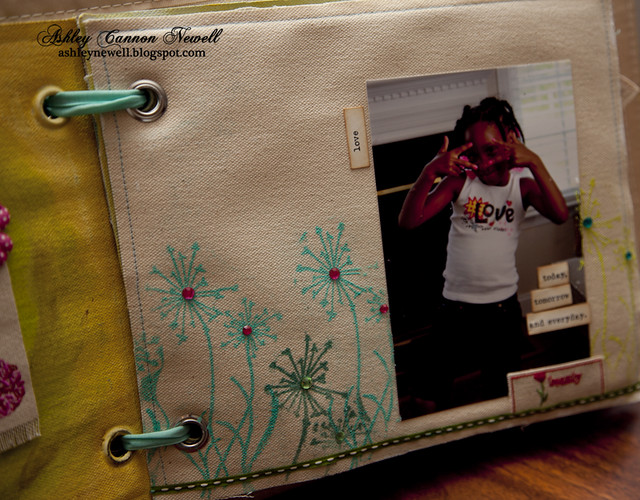
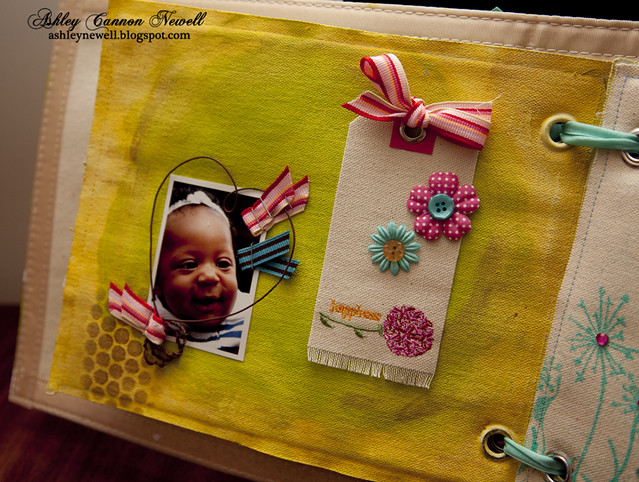
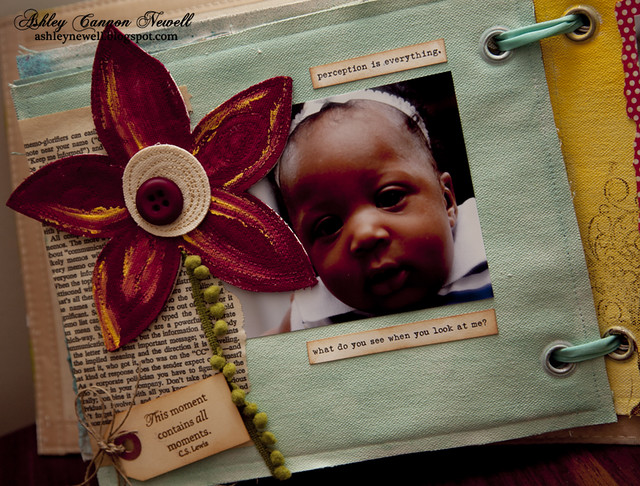
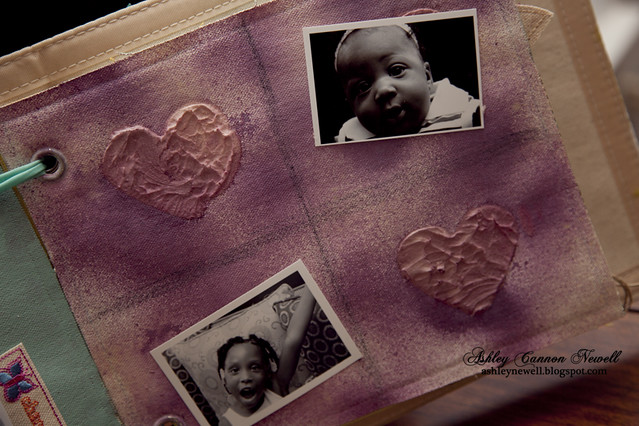
 Here are a couple of pictures of the canvas scrapbook I created by Quick Quotes. They have a lot of variety to select from using canvas', my new favorite scrapbooking element! I had a couple other pictures, but never got around to editing them, so here are a few. I'll post the others later this week. The book can close and be carried with you or open it up (as shown) for display. I embellished both sides to get the most out of it and offer options on pictures.  This book is for the first communion. I used the most captivating pictures that told the story of the event. I embellished with ribbons, buttons, and faith-related sayings I printed out on vellum paper, which is a great alternative than actually buying quick quotes...make your own! The powder puffs (chalk inks) that Quick Quotes carries are great! They ink the canvas' extremely well. You will be seeing more versions of canvas scrapbooks, but I'll start creating them from scratch! Thanks for stopping by!
|
|