|
|
 UPDATE UPDATEThe card + video have been removed temporarily for publication.
Find it in Cards magazine February 2011.
The video will be re-published in March 2011.
Hey Everyone! Yaaaay...it's Wednesday and time for another video! Today, I decided to create a card using some new Kaisercraft. The Up, Up & Away collection is so vintage. Here's a birthday card probably for a guy. So, take a peek at how I made it!  You may also view the video here. Thank you for watching! :: Technique Tuesday - numbers game; DeNami Design - polka dot background; Papertrey Ink - get to the point sentiments Ink :: Hero Arts - latte; Ranger - vintage photo, tea dye Cardstock :: Papertrey Ink - ocean tides, dark chocolate, vintage cream Patterned Paper :: Kaisercraft - up, up & away collection 6" paper pad Embellishments :: Kaisercraft - up, up & away collection chipboard & cardstock die cuts; May Arts - twine 
One more thing! Have you heard? There is a new challenge that has started. This time, it's photography related. You've got to check it out...it's hosted by none other than BoldLifestyle Photography (also known as McArthur's creative photography blog). He's been really wanting to host his own photography-based challenge and finally decided to take the plunge. So, what are you waiting for? Head on over to the blog here and see what the first challenge entails. Dust off your cameras and snap some photos. There's no need to be a professional. It's all about being creative and trying new things, just like any other paper crafting challenge. And you want to know what's great about it all? You can scrap these photos! Just think of the story behind each of them. I can't wait to participate myself and I hope you join me! Thanks for visiting and I hope you have a great wonderful Wednesday.
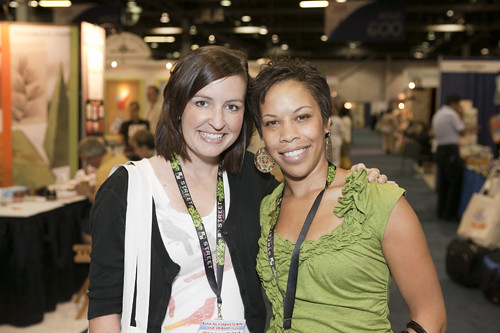
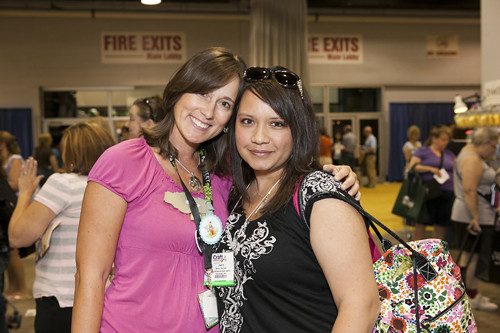
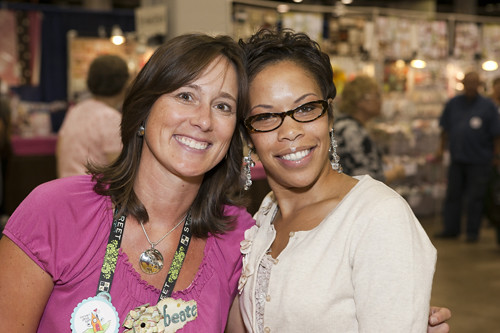
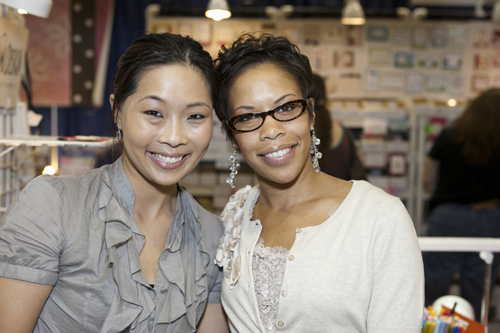
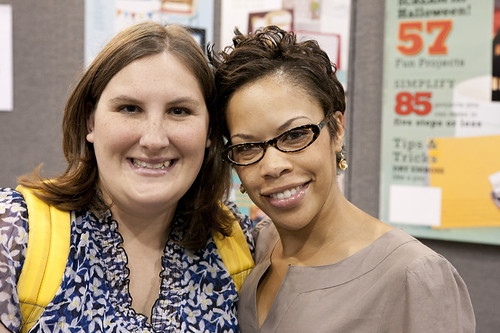
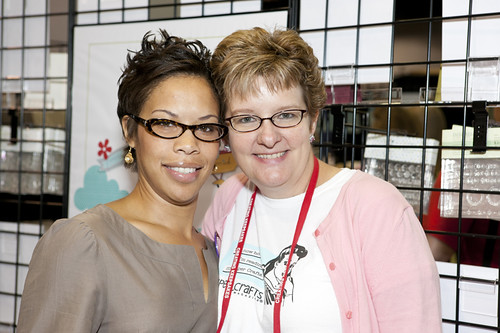
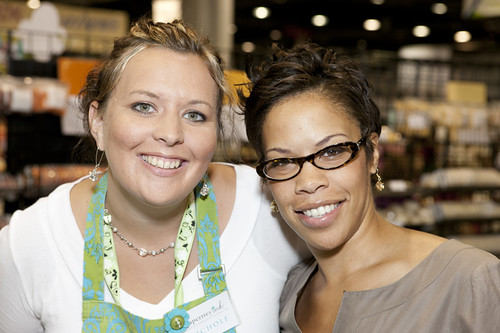
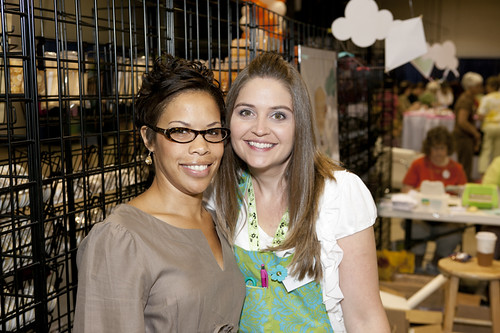
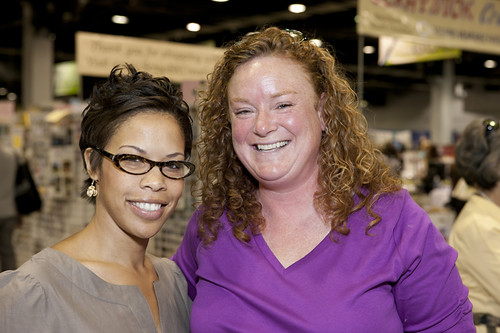
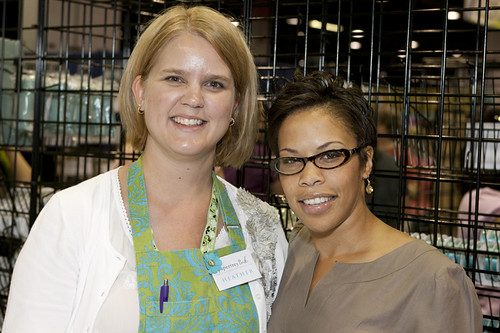
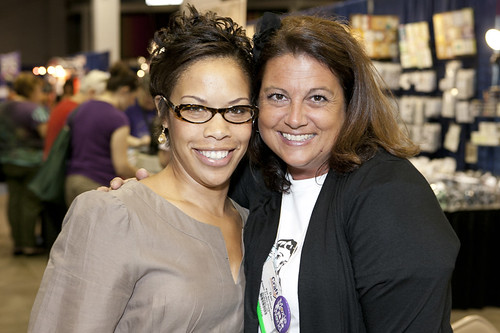
Hey there! Well, I made it to CHA and bumped into a few "Bleeps!" It's so great to be able to see everyone in person and get a hug in! Here are just a few snap shots, but if you want more about booth coverage, check out Embellish Magazine's blog here. Thanks so much for stopping by. If you're looking for the Photography Session, scroll down. The last day of tips and tricks covers how I edit and organize my photos.   We had to try out some Giordana's deep dish pizza! Boy, was it huge...and we ordered a small!   Thanks for checking in! Enjoy your Thursday!
 Alrighty Bleeps! Today is the final day of the photography session and now you're either saying this was silly, I already knew that or wow, I learned a few things! Either way, you probably already have photography experience or are eager to learn more, like me! There's always something new to learn! So, let's get started on how I edit and organize my images!  Equipment Equipment- Memory Card Reader to transfer the files from the memory card to the computer. You also can plug your camera directly to your computer too.
- Computer
- Photoshop CS5 (earlier versions will apply here or other editing programs too, for the most part)
Photoshop Adobe Bridge- I use this program to adjust the settings such as exposure, brightness, black levels, or contrast. This program has sliders, so it's super easy to see how much or little you want the levels to increase or decrease. Sometimes, I use the "auto" feature and it works, other times it doesn't. You just have to play with it. Usually, I do not have to change much in the photo, which means my camera settings pretty on point.
Photoshop CS5- I sharpen the photo here, if needed.
- Resize the image to 800 or 500 pixels (or any other size that may be required for a gallery or submission requirement)
- Save the photo as: NAME_800 (The 800 allows me to know what size photo it is)
- Add watermark
- Save the photo as: NAME_800WM *The WM allows me to know what image has a watermark)
Detailed Photos- Open a new Photoshop file 500 px xXXX px
- Drag watermarked image to new file and resize to fit file.
- Go back to watermark image and crop a 150 px x 150 px thumbnail, then drag over to new file. Do this step three times for three detailed shots (px = pixels)
- Save as: NAME_Blog (The "Blog" allows me to know which file should be uploaded to my blog
Tips- I usually have three images of the same project in my folder. Most of the time, I do not need all three; however, if I did need an unwatermarked image or just my watermarked image, without the detail shots, I would have them done and would not cause myself extra
 Saving Photo Files Saving Photo Files- Create a folder for "Paper Craft Projects" (whatever you want to t
- Create a folder for the current year (e.g. 2010)
- Create a folder for every month (e.g. July)
- Save files chronologically - Makes it easy for me to locate projects. Since my blog is chronological, I thought this was the best way to keep record.
MobileMe- I work on a MacBook Pro and have a MobileMe account.
- MobileMe allows me to save files directly to the "account" on my MacBook Pro.
- When I am away from my laptop, I can access those files from any computer or even my iPhone 4!
Other Saving Options- So, you don't have a Mac or do not want to pay for a MobileMe account? No problem.
- Try an external harddrive. If your computer crashes, the drive necessarily will not.
- Try GoogleSync. I hear it works very similar to MobileMe and works on a Blackberry, iPhone, and other phone models to sync contacts, files, and other great stuff! I'm sure there are others, but I really like MobileMe, so that's what I use.
Thanks so much for visiting! I hope you enjoyed the series. Coming up...a couple of photos from CHA!
 Hey there! I hope you are enjoying the Paper Crafting Photography Series. Today, I want to share some helpful tips on "Setting the Stage" or how to set up your shots with the right angles, lighting, and backdrops.  - Avoid using too many props. They have a tendency to steal the show instead of your project. Use furnished areas in your home with limited accessories as a nice backdrop for your project.
- I photography my projects on a white countertop. Don't have one? It's okay, simply use white cardstock to stage your scene.
- Use solid color cardstock as the backdrop to create contrast in the photo. I usually like to coordinate my backdrop cardstock with my card. Be careful, make sure your backdrop cardstock color does not conflict with the main project color. I find kraft cardstock works with many projects, unless the project is kraft, then I switch to another shade.
 - In my space, I have recess lighting, but none are directly above my photography studio area.
- There is also a well-lit chandelier in the room, but it's not directly above the photography area.
- I do not use a light box and the one I have is collecting dust. If you have an external flash, you will not need a light box.
 - Get eye level with your project. Sometimes, an aerial shot of an altered project is more appropriate.
- Place cards at an angle to see the dimension of the card. Avoid flat card shots. Flat card shots can create illusions causing the viewer to think the backdrop may be a part of the project.
- Having difficulty with you card standing upright? I use a glue dot on my countertop (you can do the same on cardstock). I place the card front on the glue dot hiding it. Then the card back is kept in place with a small object. This is a super easy way to keep your card in place while avoiding extra props.
- For scrapbook layouts, try placing it on an easel or stand. Stands may be purchased at Michaels or framing store.
- If you have cardstock larger than the layout size, simply stand the layout upright and have a prop hold it up in the back and take the shot.
- Another option is to place the layout flat on a surface, then photography the project from above. This gives the perception that you are taking the photo directly in front of the layout. As a backdrop, I use my white countertop; however a larger sheet of cardstock, such as posterboard could also work.
I hope these tips are coming in handy! Tomorrow is the last day of the series and will focus on editing and organizing image files. I hope to 'see' you back! If you have any questions, please let me know and I may do a posting to answer them or answer you directly, so make sure you leave your e-mail. Thank so much for joining me!
 Welcome to my Paper Crafting Photography Series! I'm so glad so many of you are interested in learning how I photograph my projects. I'd like to start off with a little history and share that I have been photographing my projects for over two years and they have not always met my high standards. I'm still not perfect or a professional by any means, but I finally have a system that I like and feel comfortable sharing it with you. I'm sure most of you have your very own system, which could be something that I'd like to hear as well! When I first started blogging, I used a Canon Powershot Digital Elph point and shoot and a light box to photograph my projects. My photos were cropped too close, poorly lit, and did not have good positioning. Take a look at one of my earlier photos (and card)!  Later, I progressed to a higher end point and shoot Sony Cyber-Shot DSC H50, which had manual settings and allowed me to adjust them. The pictures improved, but still were not quite right. I think with a little more time and dedication to learning my settings with my Sony camera, I could have the photo that I wanted. Here is a decent photo using the Sony point and shoot:  However, McArthur started learning photography and I resisted on learning another 'machine!' After a few tries and seeing what a DSLR camera could do, I was hooked. Here is my first photo taken with my Canon xTi.  Looking back, the second project is photographed the best; however, I didn't put the necessary time in to learn that camera before moving on to the DSLR. I'm sharing my history with you so you will not feel the need to go out and purchase a brand new camera. Learn the camera you have first! This session will focus on tips, tricks and techniques on how I photography my projects currently. If you do not have the equipment and/or software I use to photograph and edit my photographs, there still may be some helpful tips you can use with your camera and editing program. So, let's get started!  Camera Camera- Canon xTi Digital Single-Lens Reflex (DSLR) Camera - This is an older model. The comparable camera to this model now is the xSi.
Lens- In my opinion, the secret in photographing with a DSLR is in the lens, not the camera body. Some may want a full-frame DSLR, but it is not necessary in paper crafting photography, in my opinion.
- I alternate lenses from a 24-105mm to a 50mm (often referred to as a 'nifty fifty')
- The 24-105mm lens is a luxury Canon lens that we purchased because we do freelance photography work. I do not think this is a necessary lens.
- The 50mm lens is considered a prime lens. You cannot adjust the focus with this lens. You work the focus, meaning you move closer or further from the object. I really like using this lens when photographing paper crafting projects and at a price of around $100 you can't beat that deal!
Flash- Canon Speedlite 430EX II is an external flash I install on my DSLR and use in EVERY shot for my paper crafting project photographs.
 Aperture/F-Stop Aperture/F-Stop- 4.0 (24mm lens)
- 2.8 (50mm lens)
- The lower the number for an aperture setting, the blurrier the background is in the photo.
ISO- 100 (in well-lit spaces) my usual setting
- 200 or 400 (in average or slightly darker rooms)
Shutter SpeedExternal Flash- M 1/4 = settings I keep it on
- Keep the flash pointed upward, towards a ceiling, especially if you have a white ceiling. This allows the light from the flash to bounce off of the ceiling onto the surface that you are shooting.
- Avoid using the pop-up flash on a DSLR. I find it washes the object out in photos because it pops directly off the object.
- Even on point-and-shoot cameras, I find that no-flash is better because you are unable to control where it shoots. When you have the flash off, you will need to substitute with a lot of light, which is why people use light boxes; however, direct lighting is sufficient.
Helpful Tips- Play with your settings. You have to test everything out to see what works best for you in your space. Lighting is the key, but that varies from room-to-room, so you can start with the setting I provide, but try changing the Aperture to a higher number to get a clearer/brighter shot or adjusting your ISO to 200 for a brighter photo. The shutter speed will also have an effect on the end result.
- Practice! Every single one of my photos is not perfect by any means. Some days are better than others and it's usually when I'm not rushed. Take your time and try not to get frustrated!
Thanks so much for stopping by today! I hope you learned something about my camera and how I use it. Hopefully, you can apply some of it to your own photography. Tomorrow, I plan to discuss how to stage and photograph the shots.
 Hey there! Look at this cute mini camera that was waiting for me when I got home from work yesterday! There's a funny story behind this purchase. McArthur is not a big fan of Internet shopping. He likes traditional shopping - where you go into a brick and mortar, touch and feel the products, and converse with the sales representatives. So, when I asked for this camera that was available only online at the retailer with the best price, he didn't know what to do! Well, eventually, I guess he ordered it and surprised me with my 'fun' camera...a Fujifilm instax mini 7s! So, late last night, I tested it out, took one photo of Ozzy (it didn't turn out too well-haha) and took a few pictures of myself with my new gadget to capture the moment! I also got the chance to play with Photoshop CS5 while I was creating this image to share with you all and hopefully for a scrap layout soon! The font is a bit hard-to-read, but I like it nonetheless. I've also pointed out my braces in this image and I'm wearing a new vest I found at Marshalls over the weekend. This image is almost a scrap page by itself, but I think it will look so much better with traditional paper and textures. I guess Mac and I have a lot in common! ;) We also got another professional camera over the weekend! I'll share that one with you a little later! :) I'll be back tomorrow with some Spellbinders projects! Take care, Bleeps and thanks for stopping by!
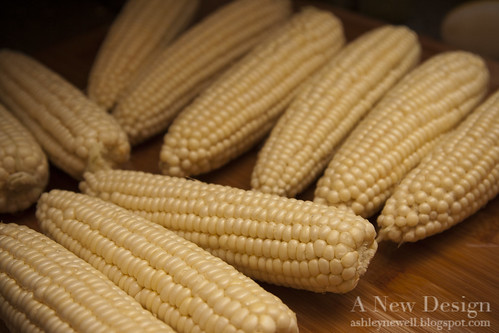 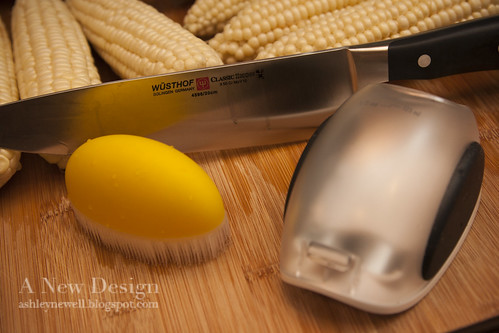  Hi there! I hope you're having a great week! I decided to not post a project today, but I did want to share some food! :) You all know I appreciate my "feedings!" The summer time to me means fresh fruits and vegetables that you cannot always get year-round. we have a local farmer's market that I like to visit on Saturday mornings, but unfortunately I haven't gotten the chance just yet. But, that doesn't mean I can't get any fresh foods! I picked up some fresh white corn from my local grocery and green beans from Costco (ha)! Fried corn is a staple in our family. My grandmother made it and boy could she throw down in the kitchen. I like to think that I got some skills from her, although deep down I know she was much better! Whenever we have a good 'down home meal,' fried corn is on the menu. To clear up any confusion with the term, "fried," it's basically stir fried in oil, but not deep battered fried! I picked up a dozen ears of corn. A great tip is to shuck the corn before you leave the grocery store. Many stores now have huge trash cans stationed next to the corn to allow customers this 'shucking convenience!' This will save you prep time in the kitchen and also a lot of clean up too! You can select white, yellow, or mixed corn. I like mixing fried corn with white and yellow, but this time I forgot! The look of it is so cute! Regarding the photo of the tools. Last year, I found that little yellow tool. It has plastic 'fingers' and I use it to clean the corn. It is a very soft brush and removes most of the silk. The other tool is by Oxo and I found it at Williams-Sonoma I believe. It is supposed to be used to cut the corn from the cob. I used it this time and did not really like it. I think because there is a learning curve to it, so for now I went back to my trusty knife (also from Williams-Sonoma, which is where that little yellow tool was probably purchased too)! Anyway, here's how I make my version (not my Nanny's by the way, but close I add an extra kick if you can guess which ingredient that is). The hardest part of making fried corn is cutting it from the cobs! If you watch TV and do it, you'll feel better! I have a iHome in my kitchen and usually sing really loud and dance hard too! :) By the way, I made a little plate for my sister. She LOVES fried corn and her birthday is coming up, so I'm going to head over to DC and drop some off to her for lunch today! Instructions- Shuck corn.
- Clean corn and remove silk.
- Cut kernels from cob using knife or tool. Be careful not to cut all the way to the core.
- Using the back side of the knife, scrape each cob to get the milk or 'juice' from the cob.
- Add oil to pan and heat.
- Add corn.
- Season corn with salt, pepper, and cayenne pepper.
- Stir constantly. Corn will stick if you leave it there - NOT GOOD - trust me! :)
- Depending on size of corn ears, makes 4-6 good helpings.
Supplies12 ears of fresh corn (white, yellow, or mixed) 2-3 Tbsp corn oil Pinches of salt, pepper, and cayenne pepper **Alternative recipe: Add some heavy cream and flour to the recipe and create a more cream-style fried corn. Use butter instead of oil, but either would really work! Thanks for visiting today! I hope you will try some fried corn one day!
 Hey Bleeps! Today, I have a vintage monogram card to share. I hope you like it!
Instructions- Trim patterned paper and add border stitching, then adhere to spring moss A2 card front.
- Add crinkle ribbon treatment with button to vintage shipping tag, then pop off card front at an angle.
- Add distress ink to chipboard butterfly, then add Helmar gemstone glue to adhere glitter.
- Add rhinestones to the butterfly.
- Stamp monogram and damask on spring moss cardstock, then adhere to the back of butterfly.
- Pop butterfly off card front.
- Add twine for antennas.
- Ink the card front edges.
SuppliesStamps :: JustRite - damask centers, times new roman font Ink :: Memento - black; Ranger - tea dye, antique linen Cardstock :: PTI - spring moss Patterned Paper :: GCD Studios - Paris Nights Embellishments :: Vintage Scrap Shop - vintage shipping tag; Tattered Angels - butterfly; KaiserCraft - rhinestones; Martha Stewart - glitter; PTI - twine, button; Craft Supply - crinkled ribbon Tools :: Janome sewing machine, thread I've always been interested in actions to use with photographs, but did not have time to try it out, until last night. I snapped a photo of Ozzy while I was photographing my card. I used it to apply a "Hot Fudge" action that I had on my computer and applied it in CS5. I also have discovered I really like graphic arts, but have a huge learning curve. So, I thought this was a good time to add some text, learn a bit of typography along the way and see how it turned out. I actually liked it and it didn't take long as I thought. Let me know what you think of "Scruffy Ozzy." Yes, he needs a good grooming in the near future! Poor doggie!  One more thing! I'm giving you a heads up that Embellish Magazine will be doing a special blog hop to celebrate the Premiere Issue on Thursday, May 27. Make sure you stop by Embellishes blog on that day to be inspired and even win some prizes! 
Thanks so much for stopping by!
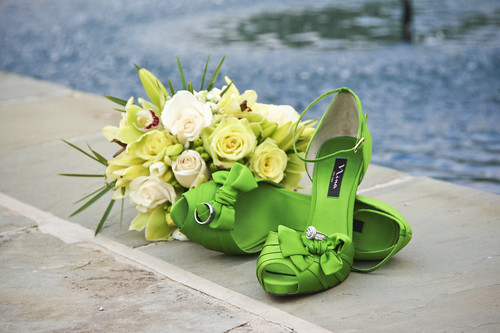 Green shoes. They may not be your choice for wedding shoes, but they were the bride's shoe choice we photographed yesterday. We love photographing couples who have colorful personalities. My favorite aspect of wedding photography are detail shots and setting the scene. Here, I set up the shoes, along with the couple's rings and the bride's bouquet and McArthur captured the moment. I snapped away too and this one is my photo!! The venue is so gorgeous and we couldn't have asked for better weather. Can you see the pool? NICE! This photo was a special request by the bride after seeing a photo from my first wedding I ever shot! It made me feel proud and nervous all at the same time. Would I be able to set up the shoes to her standard? How can I make their photo different from the last? I can't believe this is only our third wedding, but somehow it feels like we've been doing this for years. This year we have lots more and even another one on Saturday...YIKES! So, when I feel under pressure, I stage and say, "Mac, can you take the shot juuuuust in case?" Then, I take one too! It's super fun working with McArthur and wedding photography gives us a little love spark as well! I thought I'd share a sneak peek of what we were doing yesterday. By the way, this is why there is no card today...because we photographed a wedding AND I deleted a photo of a card that is already making it's way to New Jersey! haha I thought I saved it, but it's not there...oh well! :) I'll be back tomorrow with a card, so come check me out. I hope you all enjoy your Monday! Take care and wear some 'green' shoes and share your energy!
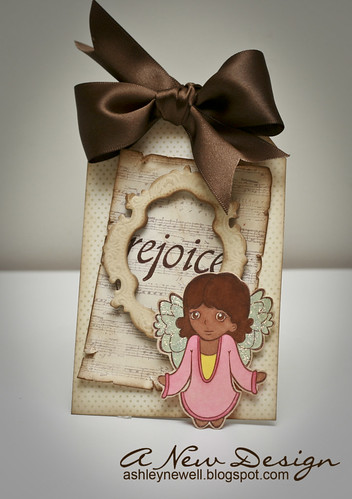
Hey there, Bleeps! Today, I am sharing a Christmas tag with you featuring Starving Artistamps. I stamped the angel, colored her in and added some stickles to the wings to make them pop. I added it on to a tag, which I cut out on my own, stamped with polka dots and a music background. "Rejoice" is highlighted in the background off of a decorative frame.
Instructions - Cut cream cardstock into a tag by trimming a rectangle. Draw a line with a pencil about an inch or so from the top. Marking the center of the paper. Draw two diagonal lines from top tag center point until you reach the paper edge/pencil lines. Trim off triangle at diagonal lines and erase pencil lines or flip over.
- Stamp polka dot background and ink edges.
- Trim cream cardstock and stamp music background.
- Distress and ink edges.
- Stamp "rejoice" and add frame.
- Stamp angel, color, ink her up, and cut out.
- Pop angel off of tag front, then add stickles to wings.
- Punch circle at top of tag, add eyelet, tie ribbon.
Supplies
Ink :: Clear Snaps - chestnut; Stampin' Up! - river rock, chocolate chip; Ranger - antique linen, vintage photo Paper :: Papertrey Ink - vintage cream Embellishments :: We R Memory Keepers - eyelet; Paper Source - ribbon Tools :: We R Memory Keepers - crop-a-dile; Ranger - stickles
How was your weekend? Well, ours was filled with SNOW! We had a record-breaking December blizzard! Most of the area is still snowed in. Here are some photos we took this weekend!
Blog Break Alert
Until the end of the year, I am going to have irregular posts. I usually post every day of the week, but I am going to take a holiday break from the blog. I could pre-schedule posts, but that wouldn't be a real break! Now, I am addicted to blogging, so don't be surprised if you do see a post, just don't hold me to it either! I'll be traveling over the holidays and working on some projects, so this time will be great!
Thanks for being so supportive over the past year. This blog has grown tremendously over the past twelve months and it is all because of your readership. I just wanted to thank you for your following, support, comments, and encouragement you have offered! Happy Holidays to you and your families!
Publication Alert
If you are looking for something to read or browse, check out two publications over the holidays where I am featured!
 CARDS magazine, January 2010 issue - I am the Designer of the Month and have lots of cards to share with you all and even a little blurb about myself. I am really excited about this special feature and really hope you get to see and read it! Please go check it out here by purchasing an online subscription for $4.99/month or purchase a copy at Oh My Crafts when it becomes available soon. Thanks so much for your support!

Paper Crafts magazine, January/February 2010 issue - I have a card featured in the Get Inspired column (the very last page of the magazine). Check out a copy by purchasing it at Borders or Barnes and Noble.
|
|


