After December 4, 2010, all future posts are on a new site. Please subscribe to my NEW feed at www.ashleynewell.com or click below to subscribe to the NEW feed.
Hey there! It's time for another video. This week's project features a quick and easy holiday gift tag you can attach to presents or gift bags. You can make these ahead of time and have them ready. Simply wrap them around a gift for instant presentation or place your gift in a bag and attach the tag. So, that's enough chit chatting, off to the videooooooooo!
Hey Everyone! Happy Wednesday! It's time to watch me...for fun watch the first video! McArthur thought it was so funny and said this video fit me well. So, check it out before it expires January 15, 2011.
Alright, now that you all are officially in the holiday spirit with my dances, check out how I made this gift card holder!
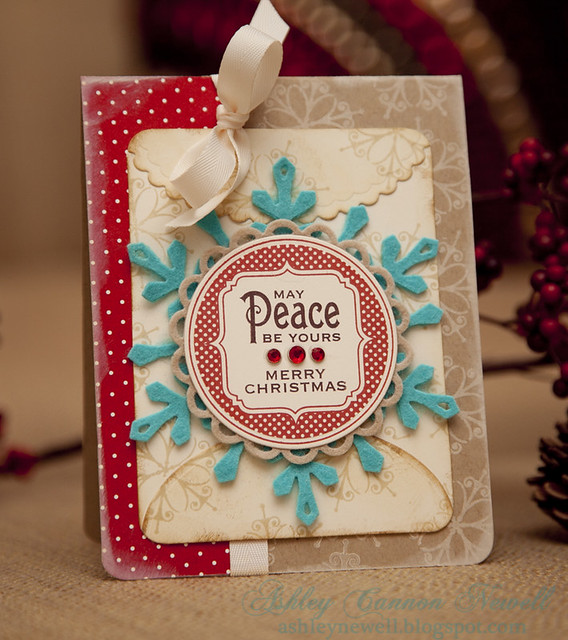
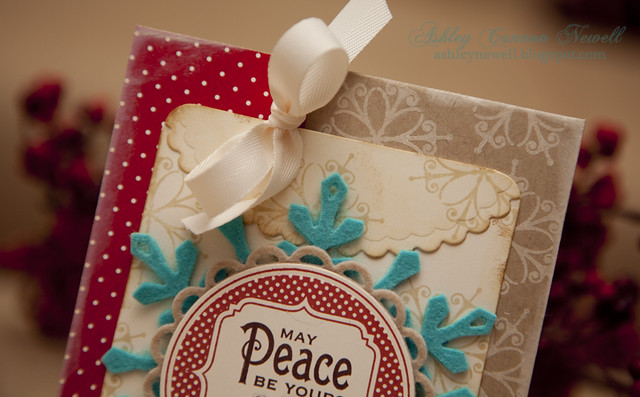
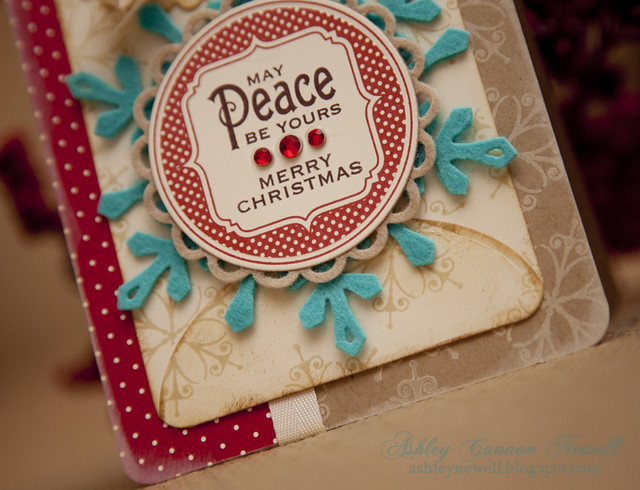
Hey Everyone! I hope your week is going well so far! It should be because it is already Wednesday and here that means time for a new video! So, I created this holiday card to share with you. It's full of read and cream and a pop of turquoise for some fun!
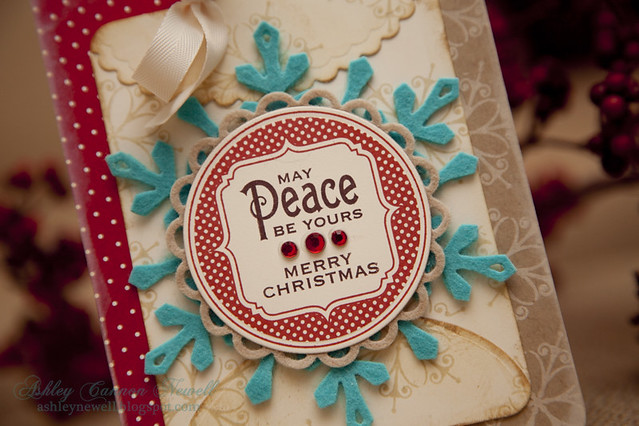
Check out that felt and cardstock embellishment I created with Spellbinders' die templates. You can create an endless amount of elements using dies, including basic shapes, tags, borders, shaped cards, embellishments, and even mini albums. The world is yours with die templates and that's why I enjoy using them so much.
I created a custom focal point using dies to make a decorative envelope-type element.
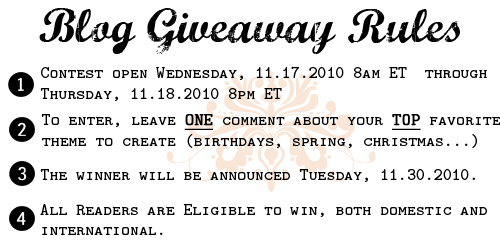
As I mentioned yesterday, I just reached the 300,000 hit mark on my blog and I'm continuing to celebrate my gratitude for my blog readers and browsers, so I have arranged another giveaway for the week. The blog giveaway prize contents are shared in the video. Please make sure you review the rules below. You must comment on this blog post to enter to win (not YouTube, Facebook or Twitter).
*Please note: I will ship prize to contest winners around the first week of December, if not sooner. This allows me to make one trip to the Post Office, instead of multiple trips.
I hope you enjoy the video. Click here to watch it on YouTube.
Supplies
Stamps :: Waltzingmouse Stamps - seasons of love, vintage circles (small) Ink :: Close to My Heart - bamboo, cranberry; Stampin' Up! - chocolate chip; Ranger - antique linen, vintage photo; Papertrey Ink - vintage cream Cardstock :: Papertrey Ink - vintage cream, kraft Patterned Paper :: Papertrey Ink - bitty dots Embellishments :: Kaisercraft - rhinestones; Papertrey Ink - vintage cream twill tape, hawaiian shores felt, linen felt Tools :: Spellbinders - S4-293 lacey circles, S4-286 2010 snowflake pendant, S4-141 petite scalloped ovals SM, S4-139 petite ovals LG, S4-114 standard circles LG, GC-001 grand calibur; We R Memory Keepers - corner chomper
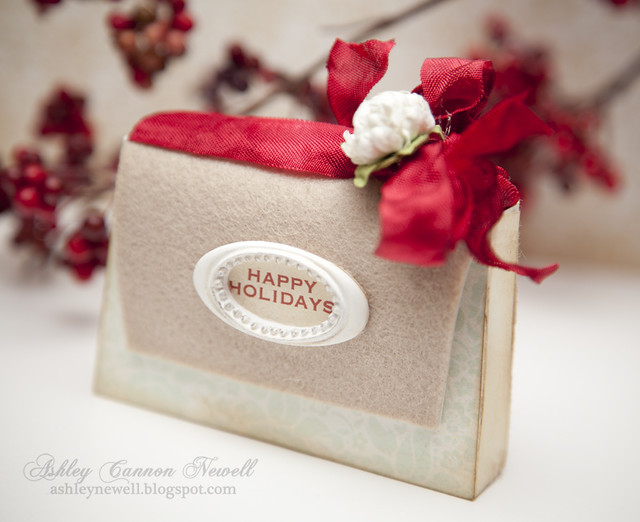
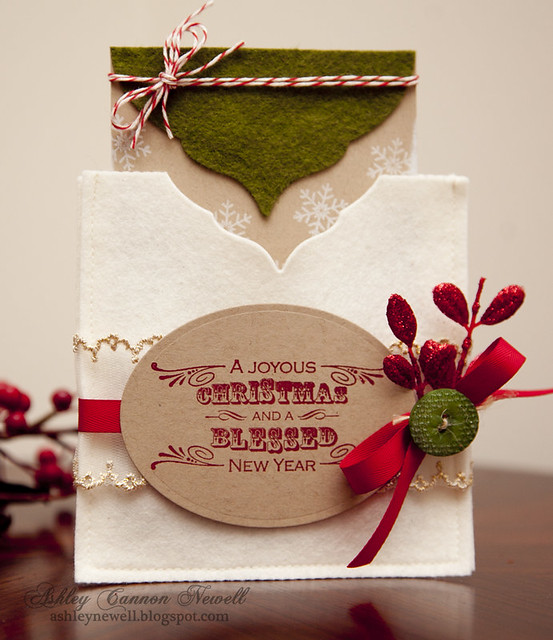
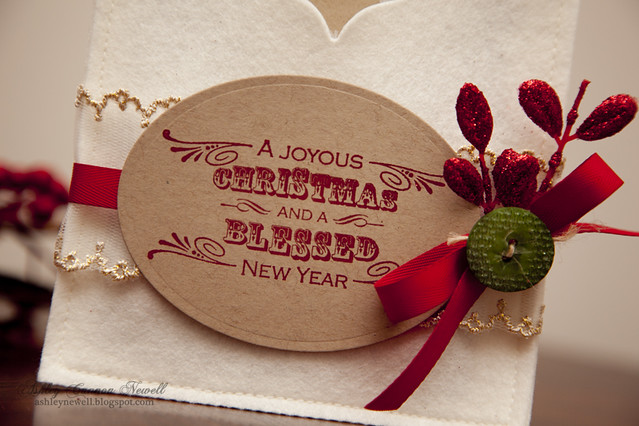
Hey There! I hope you're having a great week! I'm so happy today is Hump Day because it's the end of my work week! YAAAY! But, I'm even more excited to start sharing holiday projects for the WMW video series. Instead of creating a card, I was inspired by a felt pocket I've been holding on to for about two years! I couldn't quite use it, so I thought to create my own version.
I stitched together two 5" x 5" felt squares around the border using my sewing machine. I embellished the front with a few of my favorite current elements.
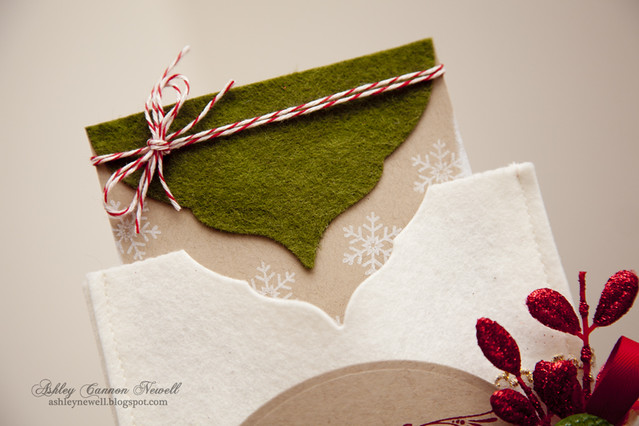
Using Spellbinders' ornament die template, I created a unique decorative edge.
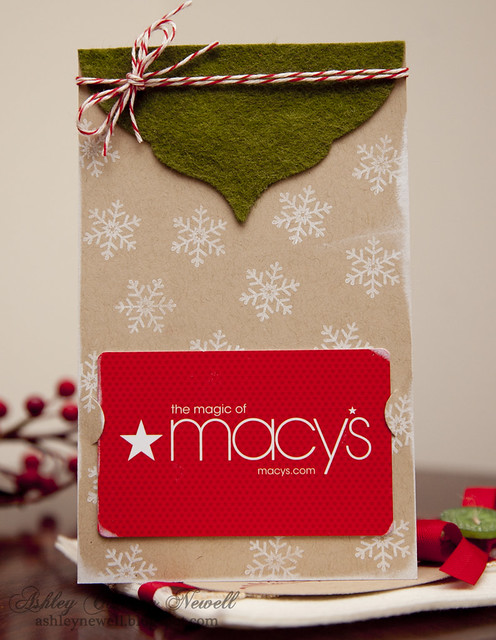
Here is the simple gift card holder insert. Customize the card with a handwritten sentiment.
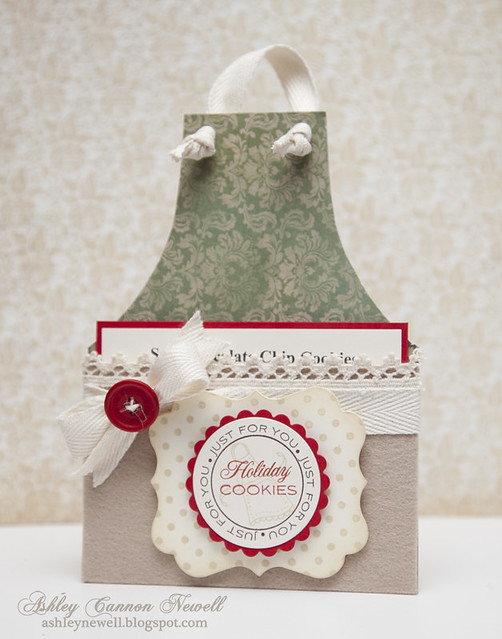
Hey ya'll! I'm back to share my final project as a member of the Caardvarks Crew. I've been on the team for a year now and enjoyed every bit of it! The team is amazing and the challenges are so much fun! The current challenge is sponsored by Creative Cuts & More. I used an A7 Apron Pocket card to make this simple holiday gift of sharing a recipe. It's the simple things, right?!
On the pocket, I covered it with felt by measuring and adhere with Helmar glue. Then, I added some vintage trim and twill tape. On a label die cut, I stamped polka dotted background, inked the edges and layered it with Spellbinders scalloped circle and standard circle. To get the sentiment to say "Holiday Cookies," I combined two sentiments. On the "Holiday" sentiment, I only inked the "holiday" portion and left the rest uninked from that set! Tricky, but I had the sentiment I wanted in mind, just had to make it work!
Now, don't laugh at my crooked trimming! I don't know how that happened! Anyway, I copied a recipe into Photoshop CS 5, then printed it on the 3.5 x 4.5 cream cardstock and matted it on red cardstock. On the back, is the same template featuring the remaining directions for the cookie recipe! By the way, I'm keeping this pocket card for myself because this is one of the cookie recipes that was recommended to me by MANY blog readers here. Thanks to those readers who suggested it!
Instructions
Adhere patterned paper (right side up) over apron top, then trim around the border. Punch holes with crop-a-dile by flipping apron over, you can still see original holes.
Assemble pocket, then trim felt and adhere to pocket front.
Adhere vintage trim and twill tape with button.
Stamp polka dot pattern on label die cut, then ink the edges.
Die cut circle and scalloped circle from cardstock.
On circle die cut, stamp border, then apron, then sentiment. Adhere to scalloped die cut, then pop off of label die cut.
Adhere label die cut to pocket front with foam adhesive.
Add twill tape to apron top for neck loop!
For inside, trim red cardstock to about 3.75 x 4.75, then trim cream cardstock to 3.5 x 4.5 and print recipe, then mat on red cardstock on front and back.
Supplies
Stamps :: Papertrey Ink - just for you, 2008 holiday tag collection; Hero Arts - polka dot background Ink :: Close to My Heart - cranberry, bamboo; Stampin' Up! - chocolate chip; Ranger - antique linen, vintage photo Cardstock :: Papertrey Ink - vintage cream, pure poppy Patterned Paper :: Kaisercraft - tis the season collection Embellishments :: Craft Supply - twill tape; Hero Arts - woven lace trim; Papertrey Ink - pure poppy button, linen felt Tools :: Spellbinders - S4-114 standard circles lg, S4-124 classic scalloped circles lg, GC-001 grand calibur; We R Memory Keepers - crop-a-dile
If you're looking for more projects, please check out my earlier post here.
If it's before 1:00 pm EST and you haven't entered, don't forget about my blog giveaway too!
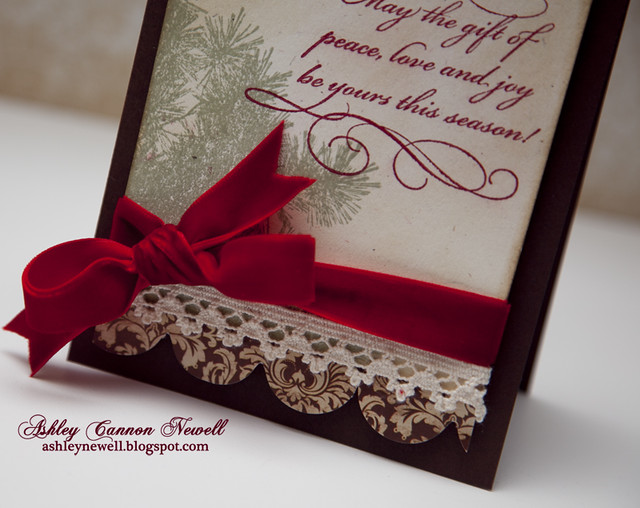
Hey Bleeps! It's Wednesday and time for another video and a Caardvarks challenge. This challenge is sponsored by Penny Black and I received some great holiday stamps. I designed a card for the challenge and hope you like it. Take a peek at my video to see how I made it!
Stamps :: Penny Black - the gift of peace, pine silhouettes Ink :: Close to My Heart - garden green; Clear Snaps - ColorBox chianti; Ranger - antique linen, vintage photo Cardstock :: Papertrey Ink - dark chocolate, rustic cream Embellishments :: Kaisercraft - die cut (tis the season collection); Michaels - velvet ribbon; Hero Arts - crocheted trim
Thanks so much for watching and stopping by! Enjoy your Wednesday!
Hey Everyone! Thanks so much for stopping by yesterday and leaving me kind words about my video and card. Today, I have a couple more cards to share and they are holiday related. Yep, it's almost about that time to start getting your holiday stamps, paper, and embellishments so you can create cards, gifts, and layouts for loved ones. I've
If you've been searching for a perfect set that could give class and elegance to your Christmas gift packaging, search no more! Today, Flourishes is sneak peaking a brand new set called, A Gift for You, and some of the Spellbinders' team is joining them in the fun! This set was designed not only to coordinate with some of Flourishes best-selling Christmas stamp sets, but with more than a handful of Spellbinders Template Dies! A Gift for You, drawn by Marcella Hawley, offers 8 different mini sentiments to fit inside. To make sure your tags come out with a regal style and design, this set coordinates with Spellbinders Labels Fourteen, Labels Fifteen, Labels Sixteen, as well as some of the new circular and square shaped designs like Lacey, Eyelet and Beaded Circles and Lacey or Eyelet Squares! The customizable options are endless.
Would you like to win this set? Simply leave us a comment here on Flourishes blog. Flourishes will draw a winner and announce this coming Saturday in their Winner's Circle on their blog!
Take a peek at what I created...
Instructions
Trim scarlet jewel cardstock to about 4" x 5.25" and stamp background pattern with scarlet jewel ink, then ink around the edges with cream ink, and adhere to an A2 card base.
Add stitching.
Die cut label, then stamp image and sentiment.
Ink around the edges with antique linen ink.
Add crocheted trim, twine, leaf trim.
Embellish with rhinestones.
Adhere label to card front center with foam adhesive.
Supplies
Stamps :: Flourishes - A Gift For You Ink :: Clear Snaps - ColorBox Chianti; Ranger - antique linen; Papertrey Ink - vintage cream, scarlet jewel Cardstock :: Papertrey Ink - rustic cream, scarlet jewel Embellishments :: May Arts - twine, leaf trim; Kaisercraft - rhinestones; Hero Arts - crocheted trim Tools :: Spellbinders - S4-290 Labels Fourteen, wizard
Here are some detailed photographs...
Flourishes also has a previously released set I had to use, so I created this card as well.
Instructions
Stamp poinsettia image on 4.5" x 6" card front with chianti ink, then stamp twice again on scrap cardstock and cut out.
Adhere poinsettias on card front with foam adhesive and bend.
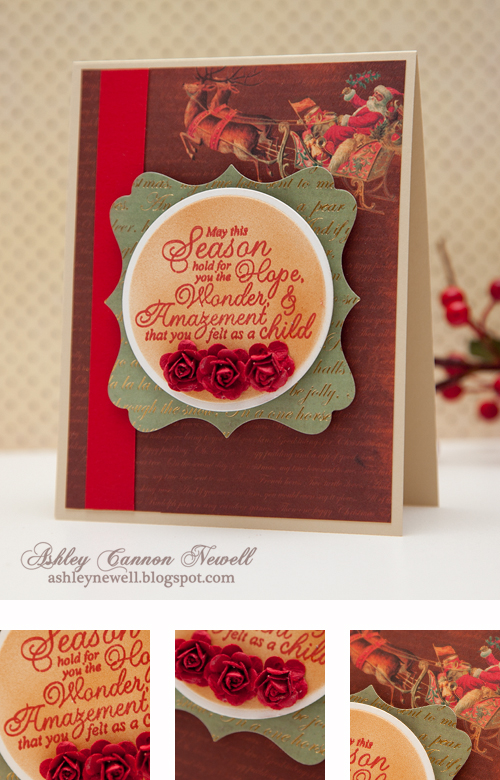
Welcome to JustRite Stampers’ newest Wednesday feature, 12 Weeks of Christmas Blog Hops #4! Every Wednesday up until Thanksgiving some of your favorite designers will be joining some of the JustRite design team for a series of Christmas blog hops, showcasing JustRite’s entire Christmas Collection of stamps! This week, it’s the Spellbinders design team! So mark your calendars for Wednesdays at 9 am CT for great Christmas gift, card & project ideas, starting at the JustRite Inspiration blog!
Instructions
Trim patterned paper to about 4.25" x 5.25", then adhere on an A2 card base.
Trim red cardstock strip and adhere to left side of patterned paper.
Die cut label from patterned paper and adhere to card front center with foam adhesive.
Die cut circle from white cardstock, airbrush, then stamp sentiment.
Adhere circle die cut on label with foam adhesive.
Add flowers.
Tips, Tricks & Techniques Although I did not create a video sharing how I made this card, I did record a few techniques to share with you, including using a positioner to stamp images in the perfect location and to get a bolder ink impression and airbrushing with a die template.
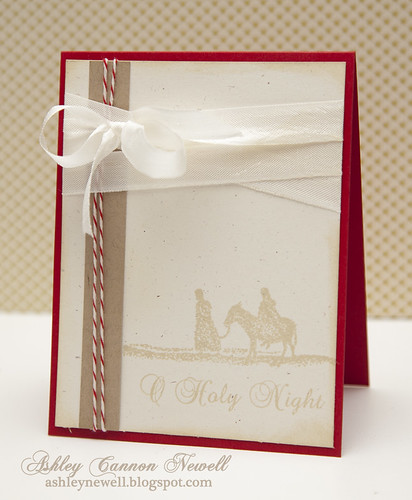
Hey Everyone! I hope you enjoyed your Monday. Thanks so much for your kind words on my Hero Arts holiday cards. They mean so much! Today, I am sharing a card prepared for Skipping Stones Design's sketch challenge. I designed the sketch, which you can find over here. If you get a moment, take time to participate in this challenge and check out the stamps too! Isn't the font and the sentiment so great?! This set is perfect for traditional, religious Christmas cards. Now, on to some important messages!
**Miss the detailed thumbnail photos? If so, let me know!
**Don't forget about the Blog 4 Boobies Blog Bounce where you can bid on my card here. The highest bidder so far is at $14!
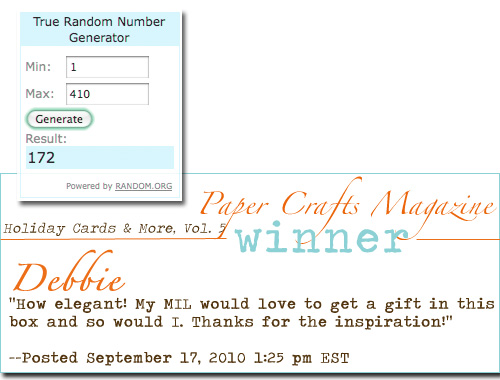
**Paper Crafts Blog Hop Winner is Debbie! Please e-mail me your mailing address Debbie so I can see that you get your new Holiday Cards & More, Vol. 5 issue! Congratulations and thanks to the 410 of you who commented on my holiday box! I read every comment and smiled!!
Instructions
Trim cream cardstock to about 4" x 5.25", then stamp scene and sentiment.
Add distress ink to the edges.
Add kraft strip and twine.
Add seam binding ribbon treatment, then adhere to an A2 red card base.
Supplies
Stamps :: Skipping Stones Design - wisemen Ink :: Close to My Heart - bamboo; Ranger - antique linen Cardstock :: Papertrey Ink - rustic cream, pure poppy, kraft Embellishments :: Craft Supply - eggshell seam binding, twine
Thanks for seeing what I was up to today! Check back tomorrow for my Watch Me Wednesday video!!
Hey ya'll! I hope you enjoyed your weekend! Thank you all for stopping by on Friday for the Paper Crafts blog hop celebrating the Holiday Cards & More issue. Also, thanks for the bids that I have received for my "Blog 4 Boobies" card. If you are interested in finding out more and want to bid, please click here.
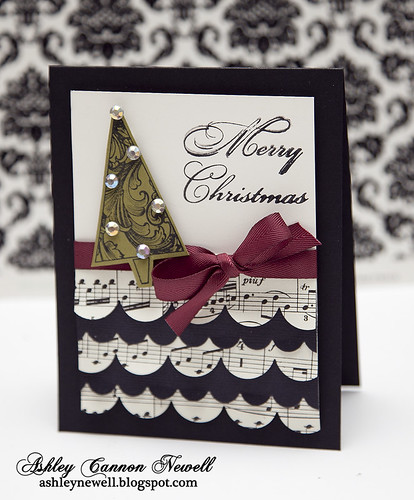
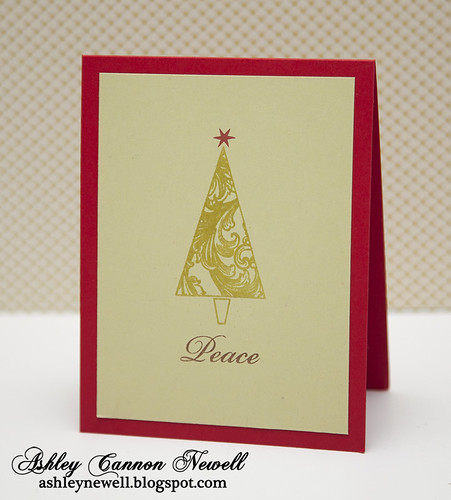
Today, I am sharing a few Hero Arts cards for the new Caardvarks challenge. This time, the challenge is all about keeping designs clean and simple. Most of my designs are pretty simple, but I did sneak one in there with a slightly more pizazz! Head on over to the Caardvarks blog to check out some amazing designs and maybe get inspired to create your holiday card this year. Clean and simple designs are perfect to create bulk holiday cards.
Instructions
Trim red cardstock to an A2 card base and emboss card front.
Stamp trees on cream cardstock, cut out, and adhere to cream block.
Stamp sentiment.
Mat on green cardstock, then add gemstones.
Supplies
Stamps :: Hero Arts - get merry Ink :: Tsukineko - versafine spanish moss, memento tuxedo black Cardstock :: Papertrey Ink - pure poppy, vintage cream, ripe avocado Embellishments :: Hero Arts - gemstones Tools :: Provo Craft - Cuttlebug, swiss dots embossing folder
Instructions
Trim music sheet and black cardstock into strips, die cut scalloped borders, then adhere together.
Add cream cardstock block to scalloped borders.
Add twill tape and tie into a bow.
Stamp sentiment.
Stamp tree on green cardstock, cut out, then pop off.
Pop off focal point off A2 black card base.
Supplies
Stamps :: Hero Arts - merry christmas trees Ink :: Stampin' Up! - black Cardstock :: Papertrey Ink - true black, vintage cream; Craft Supply - vintage music sheet Embellishments :: Hero Arts - gemstones; Papertrey Ink - scarlet jewel twill tape Tools :: Papertrey Ink - medium, small scalloped edge dies; Provo Craft - cuttlebug
Instructions
Trim green cardstock to 4" x 5.25".
Stamp tree, then heat emboss with clear embossing powder.
Add gemstone.
Stamp sentiment.
Supplies
Stamps :: Hero Arts - merry christmas trees Ink :: Tsukinkeo - versamark watermark ink, versafine vintage sepia; Close to My Heart - cranberry Cardstock :: Papertrey Ink - pure poppy, spring moss Embellishments :: American Crafts - clear embossing powder
Instructions
Trim kraft cardstock block, then stamp "JOY" in red and add remaining sentiments around it in white.
Stamp snowflakes and stars on blue cardstock and adhere to kraft cardstock.
Add twine and ink the edges with white chalk ink.
Pop off A2 card front, then add gemstones.
Supplies
Stamps :: Hero Arts - get merry, merry christmas trees Ink :: Papertrey Ink - aqua mist; Stampin' Up! - white; Clear Snaps - colorbox white; Close to My Heart - cranberry Cardstock :: Papertrey Ink - kraft, white, aqua mist Embellishments :: Hero Arts - gemstones; Craft Supply - twine
Thanks so much for visiting today! I hope you have a marvelous Monday!
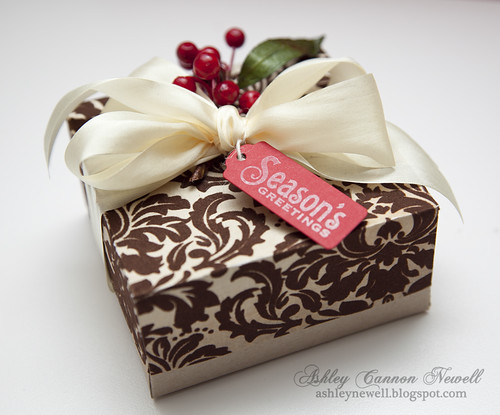
Hey there! Happy Friday to you all and welcome. Today, I'm participating in Paper Crafts magazine's 12 Designer's of Christmas Blog Hop. I worked on the Holiday Cards & More, Vol. 5issue mostly last year. I find it easier to create during the holiday season. Knowing that Paper Crafts will have special holiday issues and calls, I plan ahead and save projects specifically for thematic submissions. Holiday projects are really fun to create because it is the time of year when family and friends reunite and fellowship. Creating projects that portray loving thoughts is such a fulfilling past time. For this issue, I had fun selecting unique color combinations and holiday packaging. Cards are a major element of the holiday season; however, gift giving is a really close second. So, finding creative ways to package special gifts makes the entire experience just a tad more special for the recipient.
The Holiday Cards & More issue is amazing. You definitely will be inspired to create fabulous holiday cards, gift bags, tags, boxes, and more for all of your loved ones. From simple to intricate designs, there is something creative that shall inspire everyone in this issue. If you have not already picked up a copy of this issue, you can order it here.
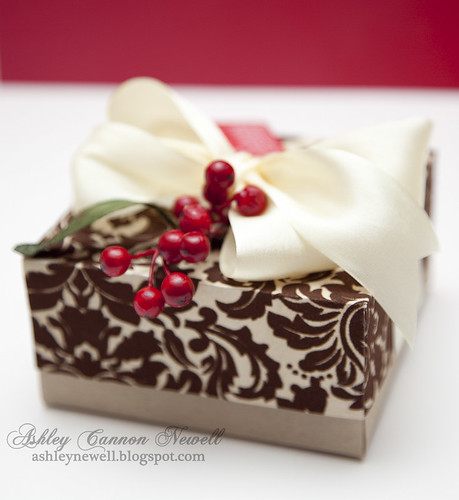
Today, I'm sharing a special gift box made for this hop. I used Leslie Webster's template to create this gift box. It is a super easy pattern that any crafter can use to make one or multiple gift boxes. Fill boxes with special food treats, jewelry, or cute hair accessories. Make sure you check out the pattern here.
Don't forget to stop by the other designers in this hop. They also have special projects to share that will inspire you beyond belief. Additionally, you will have 14 chances to win a holiday collection package by leaving comments on all 12 designers' blogs, plus on the Paper Crafts Connections and Moxie Fab World blogs. All comments must be posted by Sunday, September 19 at 12:00 AM MDT. The grand prize winner will be announced on Tuesday, September 21 on the Paper Crafts Connection blog.
But, wait...there's more! One person who comments on my blog will win an issue of Holiday Cards & More! I'll share the winner (by random selection) on Tuesday, September 21.
Trim kraft cardstock to 8"x8", then score at 2" on all sides.
Assemble box bottom and set aside.
Trim patterned paper to 7"x7", then score at 1.5" on all sides.
Assemble box top.
Add ribbon treatment.
Adhere berry spray.
Stamp sentiment, then die cut tag and tie with twine.
Tips & Tricks
Flocked Patterned Paper is perfect for gift packaging. The texture on the paper will be appreciated by the recipient and it shows very well. Give it a try!
Floral Sprays are perfect ways to embellish projects, from cards to altered items. Check some artificial sprays at your local craft store and simply trim the stems.
Supplies
Stamps :: Waltzingmouse Stamps - very vintage christmas Ink :: Papertrey Ink - vintage cream Cardstock :: Papertrey Ink - pure poppy, kraft Patterned Paper :: Kaisercraft - tis the season collection (reindeer specialty paper) Embellishments :: May Arts - ivory silk ribbon, twine; Michaels - berry spray Tools :: Spellbinders - S3-148 tags trio, wizard; Scor-Pal - scoring tool Box Size :: 4"L x 4"W x 2"D
Thanks so very much for stopping by today and for your comments. Please know you are appreciated! Good luck and have a great weekend.
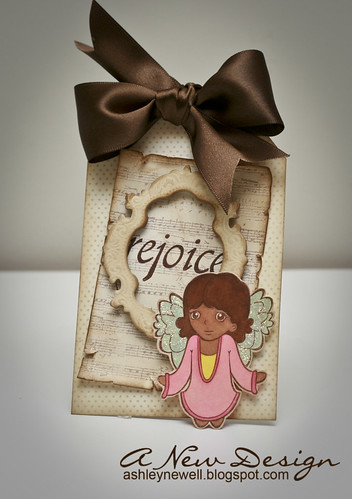
Hey there, Bleeps! Today, I am sharing a Christmas tag with you featuring Starving Artistamps. I stamped the angel, colored her in and added some stickles to the wings to make them pop. I added it on to a tag, which I cut out on my own, stamped with polka dots and a music background. "Rejoice" is highlighted in the background off of a decorative frame.
Instructions
Cut cream cardstock into a tag by trimming a rectangle. Draw a line with a pencil about an inch or so from the top. Marking the center of the paper. Draw two diagonal lines from top tag center point until you reach the paper edge/pencil lines. Trim off triangle at diagonal lines and erase pencil lines or flip over.
Stamp polka dot background and ink edges.
Trim cream cardstock and stamp music background.
Distress and ink edges.
Stamp "rejoice" and add frame.
Stamp angel, color, ink her up, and cut out.
Pop angel off of tag front, then add stickles to wings.
Punch circle at top of tag, add eyelet, tie ribbon.
Ink :: Clear Snaps - chestnut; Stampin' Up! - river rock, chocolate chip; Ranger - antique linen, vintage photo
Paper :: Papertrey Ink - vintage cream
Embellishments :: We R Memory Keepers - eyelet; Paper Source - ribbon
Tools :: We R Memory Keepers - crop-a-dile; Ranger - stickles
How was your weekend? Well, ours was filled with SNOW! We had a record-breaking December blizzard! Most of the area is still snowed in. Here are some photos we took this weekend!
Blog Break Alert
Until the end of the year, I am going to have irregular posts. I usually post every day of the week, but I am going to take a holiday break from the blog. I could pre-schedule posts, but that wouldn't be a real break! Now, I am addicted to blogging, so don't be surprised if you do see a post, just don't hold me to it either! I'll be traveling over the holidays and working on some projects, so this time will be great!
Thanks for being so supportive over the past year. This blog has grown tremendously over the past twelve months and it is all because of your readership. I just wanted to thank you for your following, support, comments, and encouragement you have offered! Happy Holidays to you and your families!
Publication Alert
If you are looking for something to read or browse, check out two publications over the holidays where I am featured!
CARDS magazine, January 2010 issue - I am the Designer of the Month and have lots of cards to share with you all and even a little blurb about myself. I am really excited about this special feature and really hope you get to see and read it! Please go check it out here by purchasing an online subscription for $4.99/month or purchase a copy at Oh My Crafts when it becomes available soon. Thanks so much for your support!
Paper Crafts magazine, January/February 2010 issue - I have a card featured in the Get Inspired column (the very last page of the magazine). Check out a copy by purchasing it at Borders or Barnes and Noble.
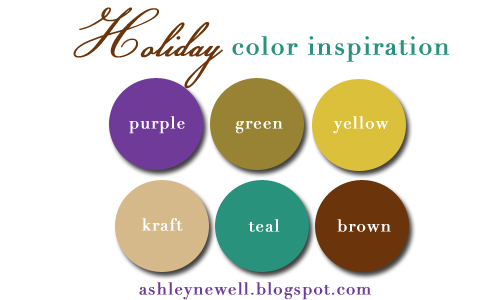
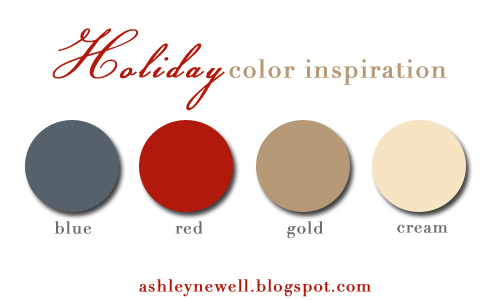
Happy Friday, Bleeps! I'm back with a rather unusual holiday color palette! I was inspired by those Christmas trees or wrapping papers with bright colors. I had to rearrange the color inspiration image to fit the color swatches together. The only one I'm missing is white, but it's in the text so that counts too! I appreciate your feedback and comments! If you have more, please ask and I'll respond in the comments section, unless you provide your e-mail!
Thanks for stopping by and enjoy your weekend! We're supposed to get a nice snow storm in the DC area!!
I started a fan page for BoldLifestyle Photography (our photography venture) on Facebook. Click here to become a fan!
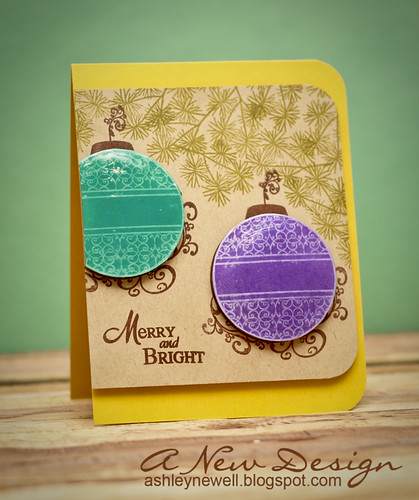
Instructions
Trim yellow cardstock to create an A2 card base.
On kraft cardstock stamp ornament backgrounds.
On purple and teal cardstock stamp ornaments, cut out, then pop off kraft cardstock (overlaying background ornament image).
Add glossy accents to create a shine effect. Let dry.
Stamp leaves to create a 'tree' effect.
Stamp sentiment.
Corner round right edges.
Adhere kraft block to card base with foam adhesive.
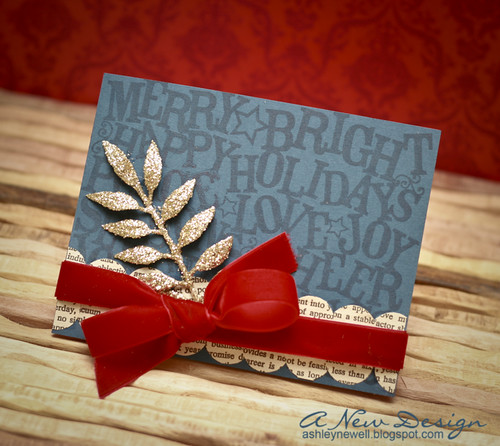
Hey there! How's it going? I hope well for all of you. The week is almost over, which makes everything a tiny bit better, right?! Thanks for the feedback on yesterday's inspirational card. I really appreciate it and will make more with scriptures. It is definitely the reason for the season. I liked the navy so much on yesterday's card, I thought of ways to add other colors with it, so that's how the red, gold and cream were added. Notice anything different about my photos? Well, I've discovered Camera Raw and started editing the pictures in that program first before heading over to Photoshop CS4. Amazingly, you can edit JPG images in Camera Raw, which is weird because they should be in Raw format only. Mac discovered this months ago, but I'm just now getting around to learning how to work it (super easy with sliders) and I love it! I thought I'd share that tidbit with you because knowledge is power! Enjoy your Friday Eve and thanks for taking a peek!
**For the Caardvarks, "Christmas in Paris" post, scroll down!**
Instructions
Trim blue cardstock to create an A2 card base.
Stamp background pattern.
Tie ribbon into a bow.
Punch circles from book text and add to card front to create a scallop border. Tuck under ribbon.
Adhere glitter mistletoe.
Supplies
Stamps :: Hero Arts - big holiday words
Ink :: Papertrey Ink - enchanted evening
Paper :: Papertrey Ink - enchanted evening; Craft Supply - book text
Embellishments :: Making Memories - glitter mistletoe
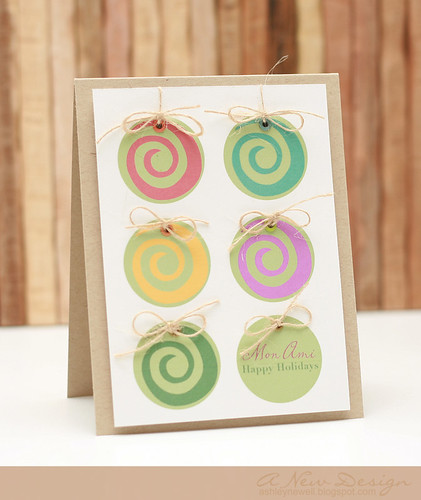
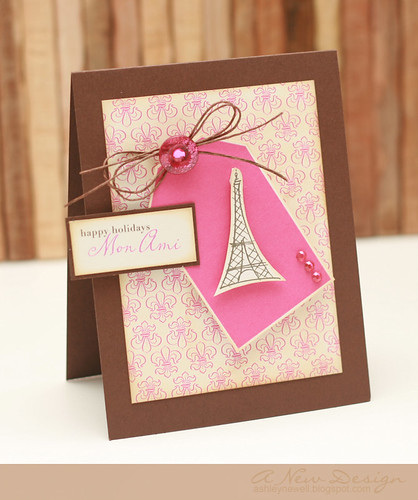
Hey there, Bleeps! I'm back with another post for Caardvarks. This challenge is sponsored by Hero Arts and their digital image kits. These are so great and easy to work with. Imagine all of the possibilities! I even created holiday cards from the Ah Paris! kit!!
The first card I used Simple Tags kit to create the circles and the Ah Paris! kit for the sentiment and the swirl on each ornament. I added my own "happy holidays" text, which translates to My Friend, Happy Holidays. I punched holes and added eyelets using the Crop-a-dile Big Bite. Then, I added twine to finish it off. Last, I matted it on a kraft card base with foam adhesive.
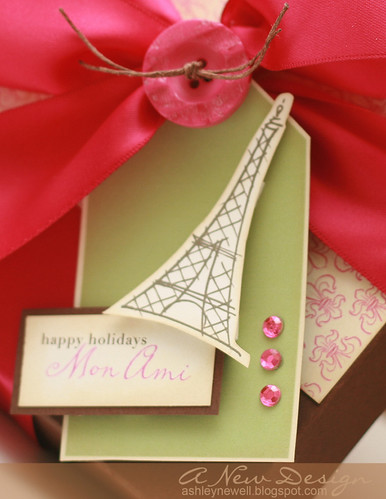
For the next set, I created a card that featured a tag and a gift box with a tag. I used the Ah Paris! kit and the Simple Tags for this entire card. I used one of the fleur de leis in the kit to create my own patterned paper in Photoshop. I used the brush tool and created a line, then copied the line on the image source and printed it out.
If you have any questions, I'd be happy to answer. Working with digital images is not as hard as it seems. I was intimidated at first, but now much more comfortable.
Thanks for stopping by. Head on over to Caardvarks to enter to be one of two people to win a Hero Arts digital kit (details here) and to see the rest of the designer highlighted features using Hero Arts digital kits!